Tuesday, January 31, 2012

building the wall

today we started building the wall between the bedroom and the living room!
nick framing up the hole
all this construction is occasionally traumatic for the dogs! separation anxiety is no fun, so zoey sleeps in the hall. this way she can watch nick work in one room and me work in the other (sigh).
zoey, the queen of the ranch
 making progress! one more board to go!
view of the wall from the front door

looking from the living room into the new bedroom
up next! leveling the floor!

nick's handy new tool (on clearance at lowes) helps with this project!

update on how we're livin now

future bedroom
future dining room
standing in the foyer looking into the living room.
obviously, it is also, our storage room.

our bedroom.
a futon. a cooler nightstand.
 two lamps we found in the basement. 

the kitchen. one exciting side note:
we just moved the fridge back into the pantry today!!!!!

the fridge in the "future pantry" slash former laundry room

the laundry slash our den slash storage
of our two white water rafts, our orr frame, our paddles , helmets, gear etc
(you know? the basics...)

the front
i wish i had remembered to take a picture of the backyard. maybe i can do that today! 
its noteworthy!!!

Monday, January 30, 2012

while we're at it...

since we are now officially tearing up the floor in the new master (former dining), 
might as well redo the master bathroom too! 
looking a bathroom, from the bedroom
before
 where we are now:
so nice! and smells great too!
(NOT!)
next up? putting up the wall and an almost finished dining room!

Sunday, January 29, 2012

deciding on the floor...

if you have been reading previous blog entries, you will know that recently we decided to turn the dining room into our bedroom and make the old "library" into the dining room.
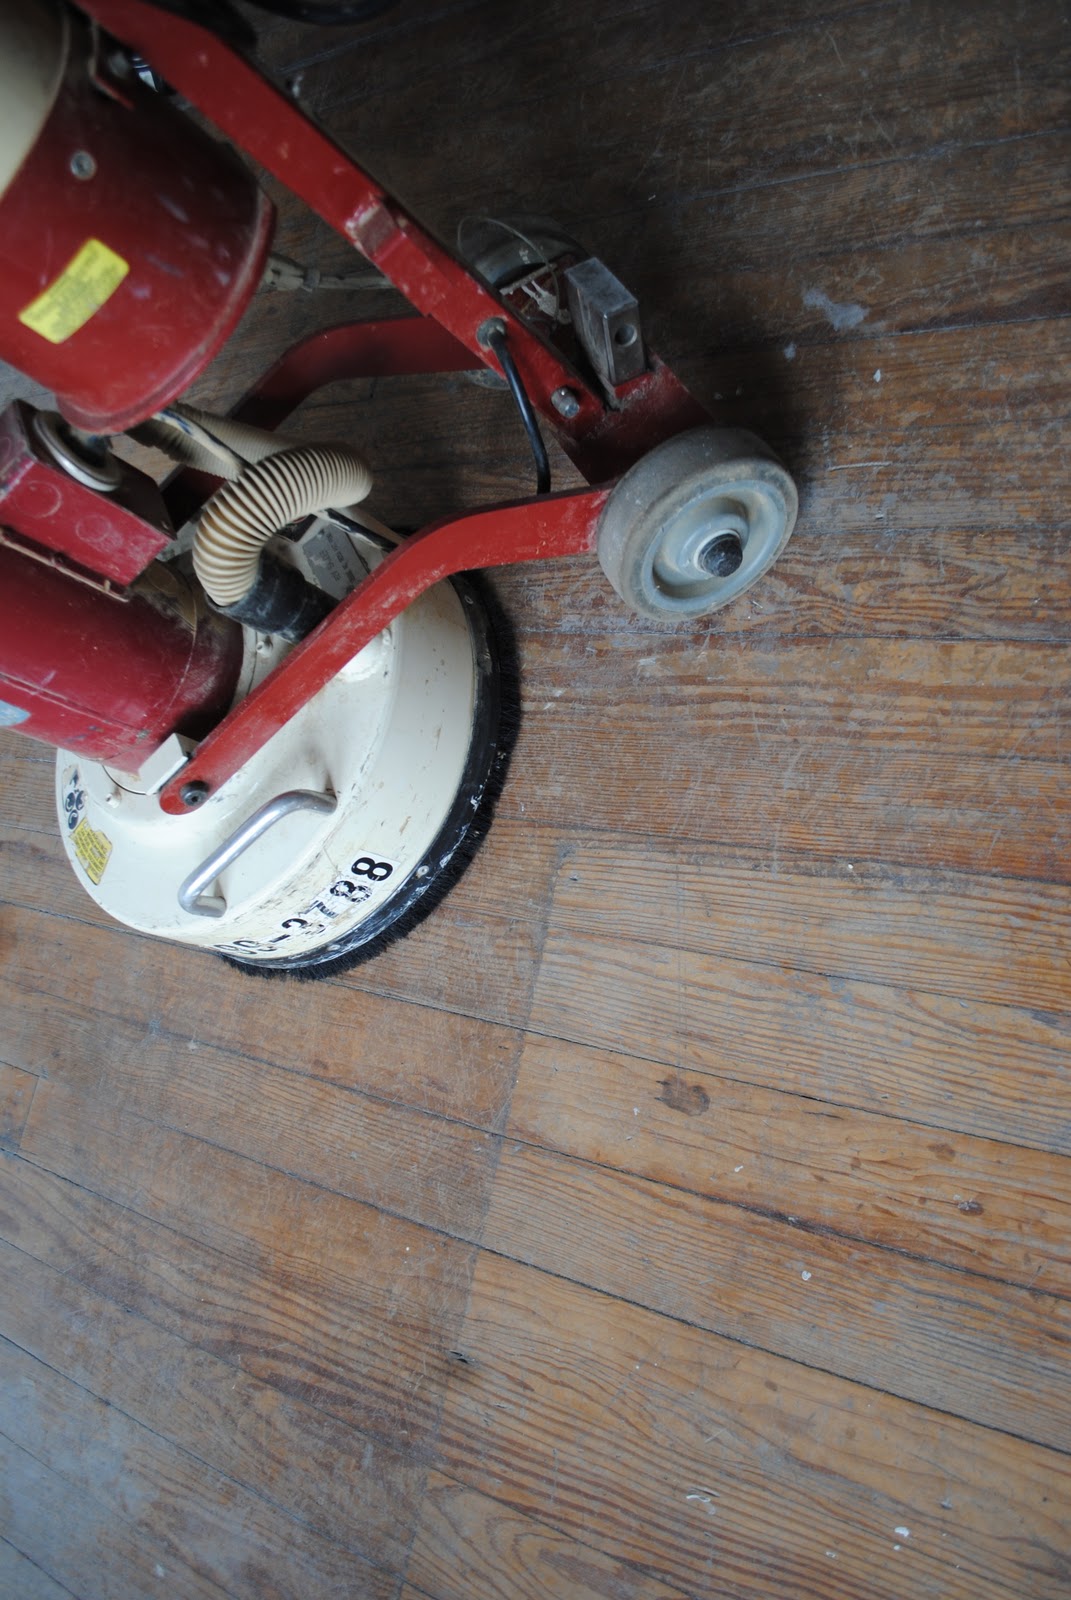
if you keep up with the blog, you will also know that we have been trying to decide what to do about the beautiful, but in spots, ruined heart pine floors that are in the front two rooms. the two rooms are open to each other and have long spans of wood running across. nick, board by board, painstakingly removed most of the boards ruined by termite damage. we have been trying to order replacement flooring to place the wood. its an odd size of 2.5 inches. no one carries it! and we don't want have to rip down a three inch board. we found a place where we can order salvaged heart pine. yay, right?
no, its kind of more of a BOOOO. its $8 dollars a foot and will get here in 6 to 8 weeks. after calculating the square footage we need, which as of right now, and if all things go well,  is about 100 square feet. mathematician says $800 dollars?!?! boy, that's a lot of money... 
BUT THE BUDGET!
what to do....what to do...?
wait! the floors don't have to be continuous between these two rooms anymore. we are putting up a wall. solution: take out the old floor in the new bedroom and use it to repair the living room floor!
taking out the floor in the bedroom
of course we found some rot in the subfloor. not a shocker. we will fix that!
we call that an opportunity. 
subfloor


all done!
to be as least wasteful as possible, we think we will end up using left over floor that we have from another house. but, we'll let you know!

paint

we decided to paint the dining room a lovely shade of venetian gold from the locally owned benjamin moore store around the corner. 
venetian gold is the one on the left
first we had to buy a tinted primer. bummer, we just primed it in good old fashioned white no voc KILZ. ugh!!!  hint: those little triangles on the paint sample indicate this.
(duh. i mean who wouldn't know that little triangle = tinted primer required?)
primer
here is the primer! huh? that's going to make it easier to paint? i don't understand. 
but whatever. they are the experts! time for the first coat!
because silly me had to have the treehugger paint, this is how it looked at first.
first coat?!?!
we bought thebenjamin moore no voc natura water based paint. it went on like tempura paint. maybe there is a trick out there to this stuff, that i don't know about. i learned that it has to go on thick, but at $50 bucks a gallon, who wants to slather on that paint. you want to make it go as far as possible!
 but after two coats and then letting it dry overnight, this is how it looked this morning.


i am pleased. no, not just please - i think its bea-u-ti-ful!
 but i am not sure if the next rooms will have the natura paint...
it is very exciting that finally, we might actually have one almost completed room!

Thursday, January 26, 2012

tiling the laundry room floor

continued!!!
the tile is layed and ready to be grouted. we chose a black grout to give it a modern look.
before grout

mixing the grout

applying grout

after application
the tile still needs a good cleaning. after it cures in three days, we can seal it. until then, its still vulnerable. since we have to be able to get back to our laundry room (which for now is also serving as our living room!), and with all of our critters running around, we are keeping it protected with throw rugs and blankets.
today, off to "build it naturally" to order flooring replacement boards for the front of the house!
and maybe some paint!

Wednesday, January 25, 2012

which color? holy cow?

we are about to paint the dining room. which color???
HOLY COW!!!!
ps all three pictures are show the same paint sample at different times of day


all of these paints came from the paint store down the street. locally owned and operated the benjamin moore paint store, mountain paint and decorating. i asked the fine gentleman behind the counter
 "and you can make this all treehugger-y and earth friendly?"
his response "we can do anything you want"
well alright then, NOW we're talking!!!

Tuesday, January 24, 2012

final

yesterday, we passed the final inspection for all the permits pulled by demos builders! these are thing like major electric, the roof, the insulation, and structural  beams underneath,
of course, we still have a REALLY long way to go, but its good to know the worst of it is done.
more adventures to come!

laying the tile

meanwhile, nick is laying the tile in the former laundry room.
(which will soon just be referred to as the back part of the kitchen)
laying tile
standing in the kitchen looking back.
there will soon be a glass door where these two windows are.

someday, this door will go away and the refridgerator will go there.

tile. habitat restore find. $1.00 per square foot.

re/staining the floor

DO OVER!!!!

so we decided to re sand the floors.

this looks much better!

loving it!

i like this picture because this is how far i got before i ran out of stain.
7:30 pm trips to lowes ROCK! NOT!

all done!

the final product
love it!!!

the library/dining room

the room once known as the library will become the dining room.
but, until we get the house more situated, the "dining room" is going to become our den. last week i primed our new drywall. now we are ready to paint! 
as you know, the pine floors (mostly heart pine!) in the house need to be redone. we decided to go ahead and redo the floors in the future dining room:
dining room: we rented a sander from lowes
this lowes sander is a pain in the rear end. the sandpaper only lasts like 5 seconds. 
ugh, the price we pay for gorgeous floors!


sanding the floor
now that the floor is all sanded, its time to stain. 
we chose rustoleum kona.

(yo dude. don't judge me on my method!)
first coat
hmmmm....looks a little funky! but i keep going anyway. 
(will this be a problem later? you betcha!)
next picture is so you can see the progression:
before sanding right half of picture
after sanding bottom left
first "attempt" at staining left middle

it is a little uneven

but not too bad right?
uh, yeah....we're going to have to redo that. apparently we didn't take off all of the previous polyurethane. hehe. OOPS!